Taste the Rainbow Chard

Last night I decided I needed to use up some veggies in my fridge. Of course when deciding to use up ingredients it more often than not requires you to purchase more ingredients to go with it. At least in my world because my fridge is fairly empty at the moment and I wanted to eat more than rainbow chard.

I have a strong affinity for the produce section. I sometimes end up with a cart full of random veggies just because they were so pretty! Then halfway through the store I remember I should grab some protein and other ingredients to go with them! Except for bacon, I NEVER forget the bacon.

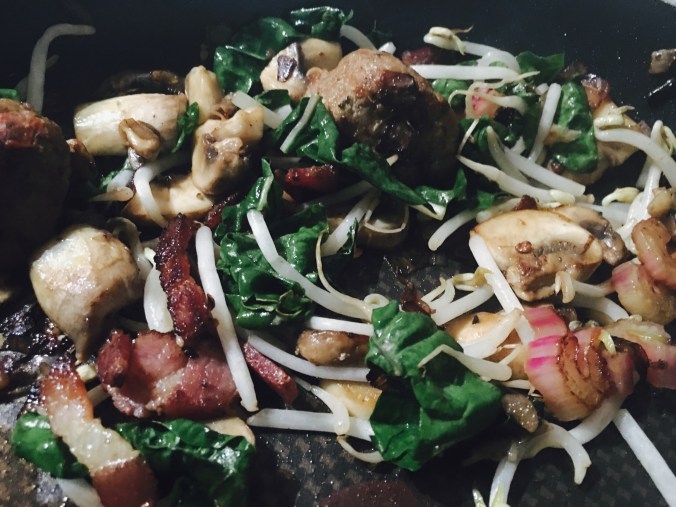
So what started as a “What do I want with the rainbow chard” thought turned into a delicious grocery list. I decided to add in mushrooms, shallots, garlic, bean sprouts and bacon along with Italian seasoned meatballs.

Photo May 03, 6 52 10 PM

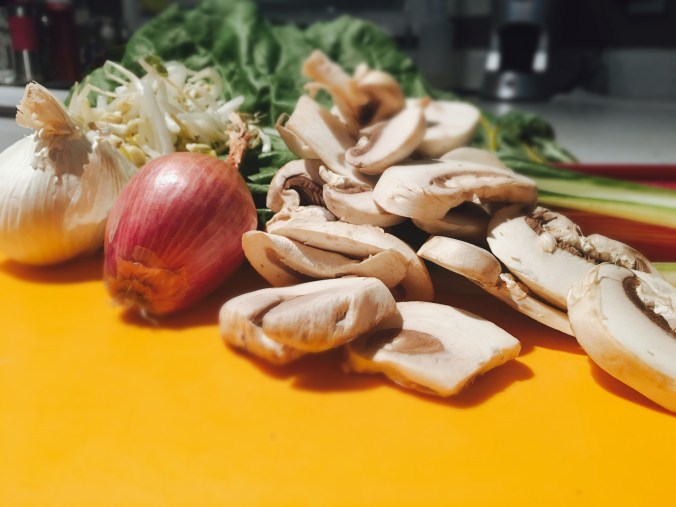
I started rendering the bacon and removed it once it was fairly crispy. I didn’t want it to cook completely since I was going to add it back in. Next I added the chopped shallots, mushrooms and chopped chard stalks. Once those began to turn translucent I added the meatballs.

Photo May 03, 6 53 38 PM

While searing the meatballs I had visions of snuffleupagus from Sesame Street singing On Top of Spaghetti. This moment was brought to you by the letter N and the number 3 which represents the 3,000 hours of watching my niece who was in love with Sesame street as a child.

Alright, back to supper. Next I added my rainbow chard greens, the key ingredient that started it all, bean sprouts and crushed garlic. I’m getting hungry just reminiscing. Good thing I have left overs for lunch!

Photo May 03, 6 53 30 PM

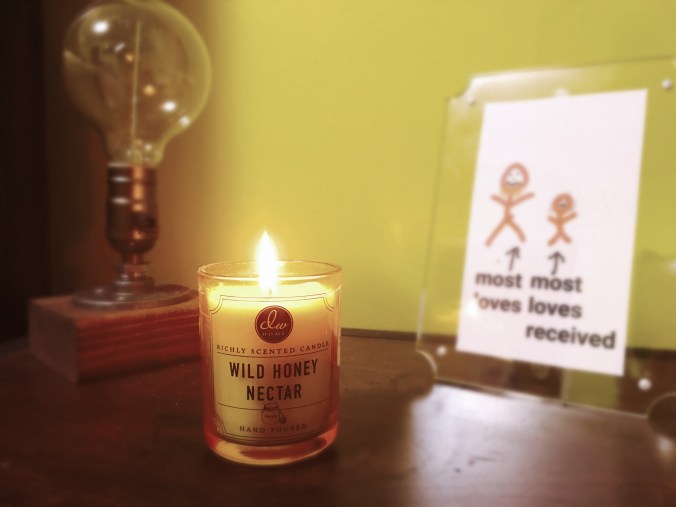
I plated my dinner and got cozy with my favorite honey candles! Now, you can find these on amazon but they cost a fortune compared to getting them at TJ Maxx. I have completely wiped out their supply at my local store so it’s time for me to start hitting up the surrounding areas. So if you stumble across them give them a try or send them to me!

Photo May 03, 4 47 22 PM
*Copyright goes to The Beard for his incredible artwork.

Laundry Room Gardening

Seeds? Check. Soil? Check. A dark room? Laundry Room it is!

Last year The Beard gifted me with raised garden beds and all the seeds for our anniversary. He’s awesome, I know. We started the process of planting our seeds and then my kidney’s decided to try and break some sort of record and produced five kidney stones. Needless to say our garden took a backseat and never came to fruition. However, this year is the year. Let’s do this.

Step one: Obtain some kick ass seeds.
The Beard purchased these beauties and our only struggle was deciding what we actually wanted to plant. So many options!

Photo Apr 10, 3 03 02 PM

Step Two: Soil. You need it.
We ended up purchasing two trays with 140 soil pods. Go big or go home people. We have trail food to prep!

Photo Apr 10, 3 49 56 PM

Step 3: Label your plants
As you can see from this highly technical chart, we have documented our seedlings. If you’re really into surprises skip this step and just see what happens.

Photo Apr 10, 3 50 15 PM

Step 4: Heat Mat
While this step is optional, it has really helped the seeds sprout quickly and also made a really cool greenhouse on top of my dryer. Blog Note: I have a picture of the heating mat but it keeps getting turned side wise when I upload it. After messing with it for a good five minutes longer than I should have, I gave up. It’s a heating mat. You know what they look like.

Step 5: When your laundry room becomes a grow house
Imagine that moment when you come home from work, glance at your laundry garden and discover your plans are attempting to escape from their perfectly constructed greenhouse. Are you thinking what I’m thinking?

Photo Apr 21, 5 04 00 PM
Photo Apr 21, 5 04 03 PM

Plastic Spoons to the rescue! I know you thought I was going to say, “Try and take over the world” but I’m busy with my laundry garden right now.

Step 6: Rig that sucker
They aren’t quite ready to be transferred and I would still like them on the heating mats for the smaller seedlings to continue to sprout so this was my interim solution. Notice heating mats under the trays. I did have a picture after all!

Photo Apr 21, 5 04 05 PM

Just a few more weeks and these plants will be ready to harden off and plant! Guess The Beard and I better get our garden beds prepared. Then it will be so long laundry garden, see you next year. Oh yah, Happy Earth Day!