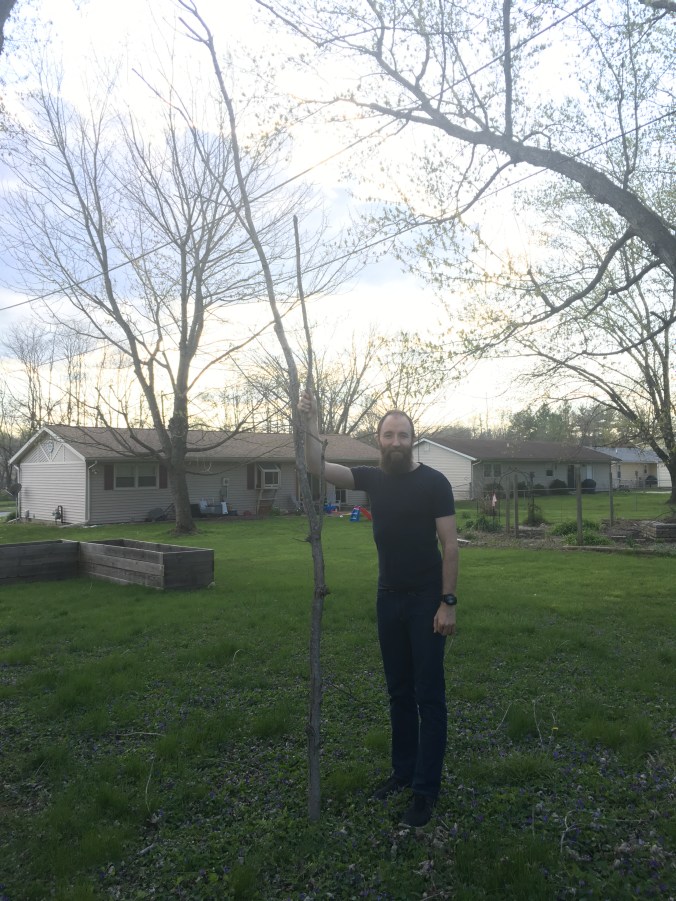
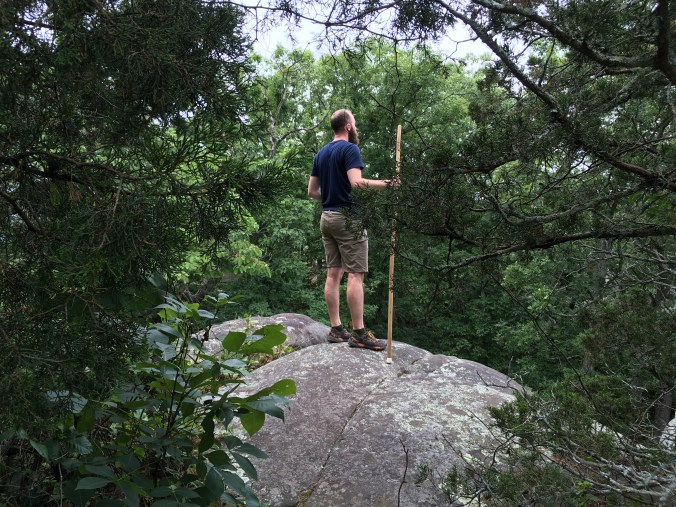
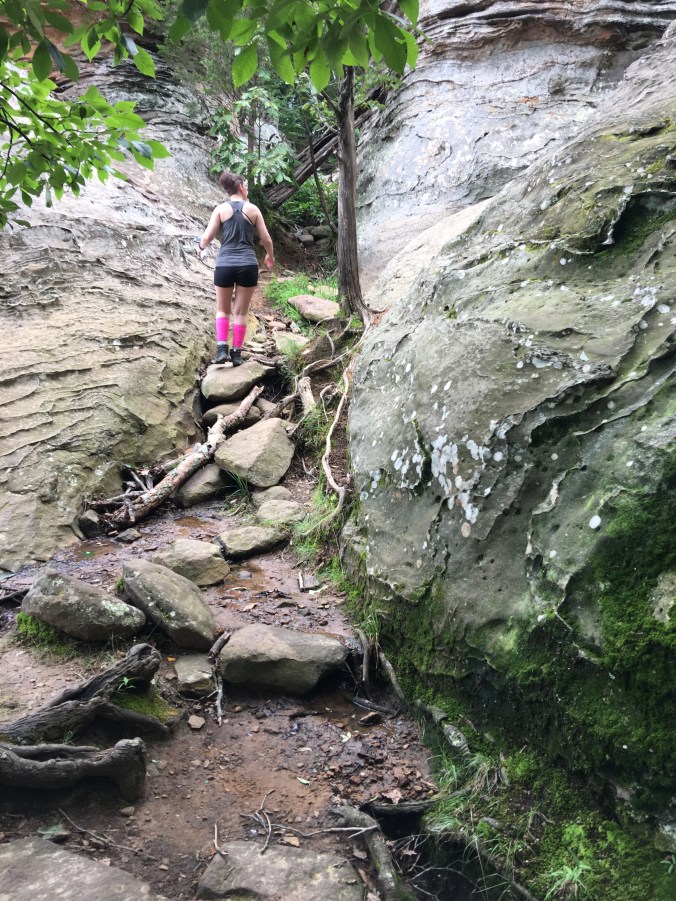
When The Beard first announced he was going to hike the Appalachian Trail one of my first thoughts were, “How are we going to feed him?” Fast forward six months later and we are headed out to Red River Gorge to gear and taste test.
After lots of internet research on trail food prep it was finally time for me to embark on making our meals. The plan is to make several different things this summer to see what is easy to produce, what is cost effective and what flavors we like best. From there we will begin creating our stock for the AT 2017! So buckle up because I have lots of pictures and an overwhelming amount of info!
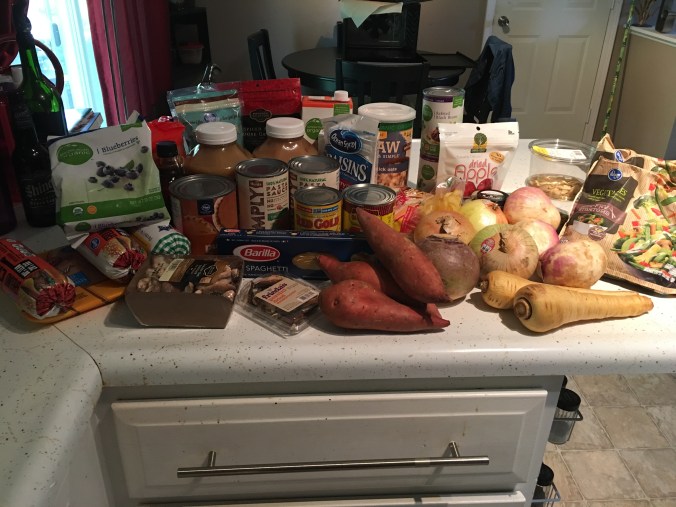
For this three day hike I needed to make 9 meals. I started with creating a spreadsheet because I can’t function in a world without them! I created my meal plan on the first tab. From there each sequential tab was labeled Breakfast, Lunch, Dinner. Under each tab I listed the meal followed by ingredients and measurements. I created columns next to each item so knew if it was something I had on hand or needed to purchase. I want to preface that I know this can be done cheaper when purchasing basics in bulk and we will be doing that for the AT. However, for this hike we are simply testing everything out. So let’s start with breakfast!
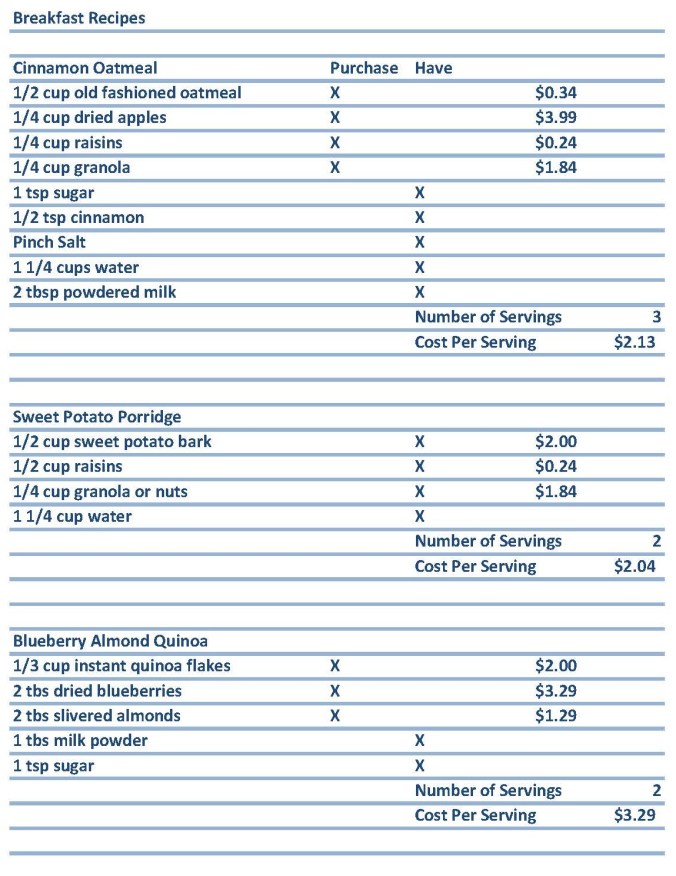
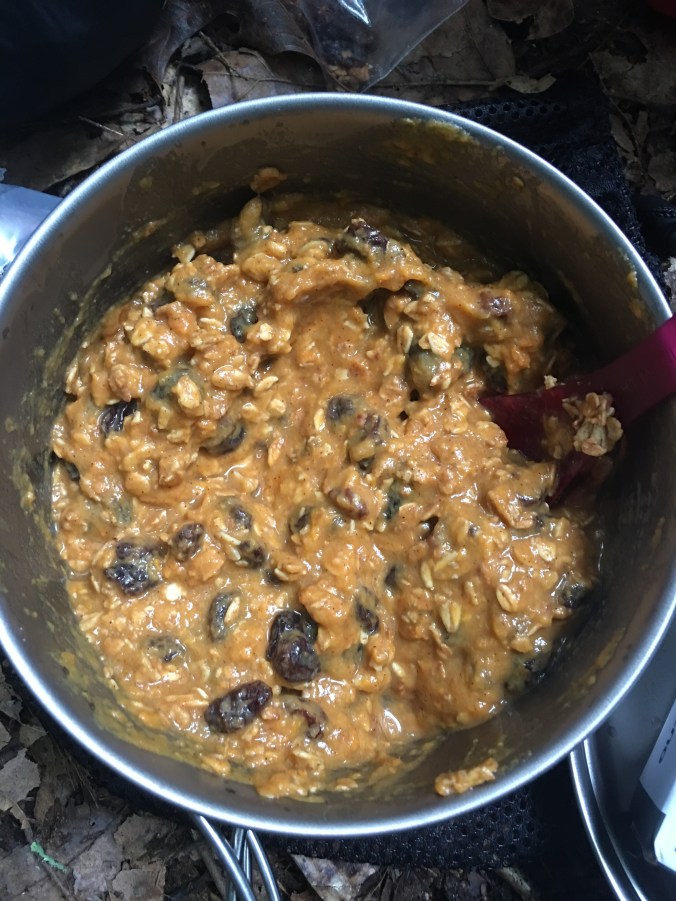
The majority of these meals were easy to prep as most of it does not require cooking or dehydrating. The cinnamon oatmeal only required assembly.

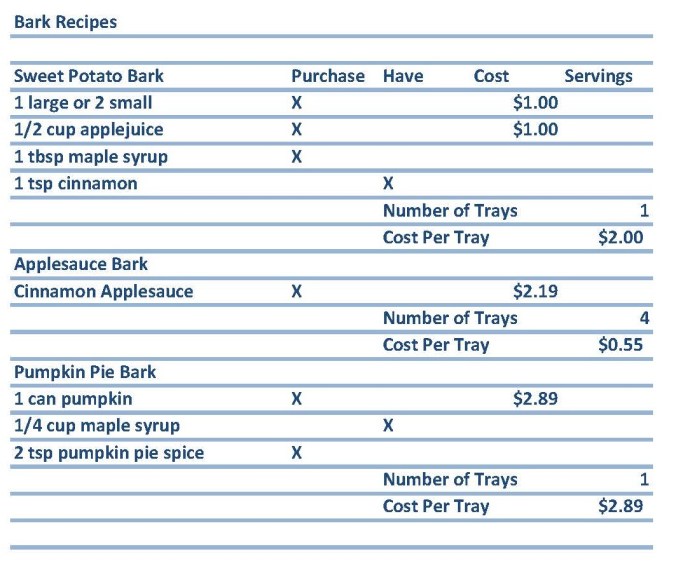
The sweet potato porridge only required me to make sweet potato bark. I added my sweet potatoes to my instant pot and they were mashable within ten minutes! From there I added applesauce, maple syrup and cinnamon and spread it on a dehydrator tray. I dehydrated at 125 for about 8 hours. Also – the sweet potato bark is delicious and you can eat it on it’s own!

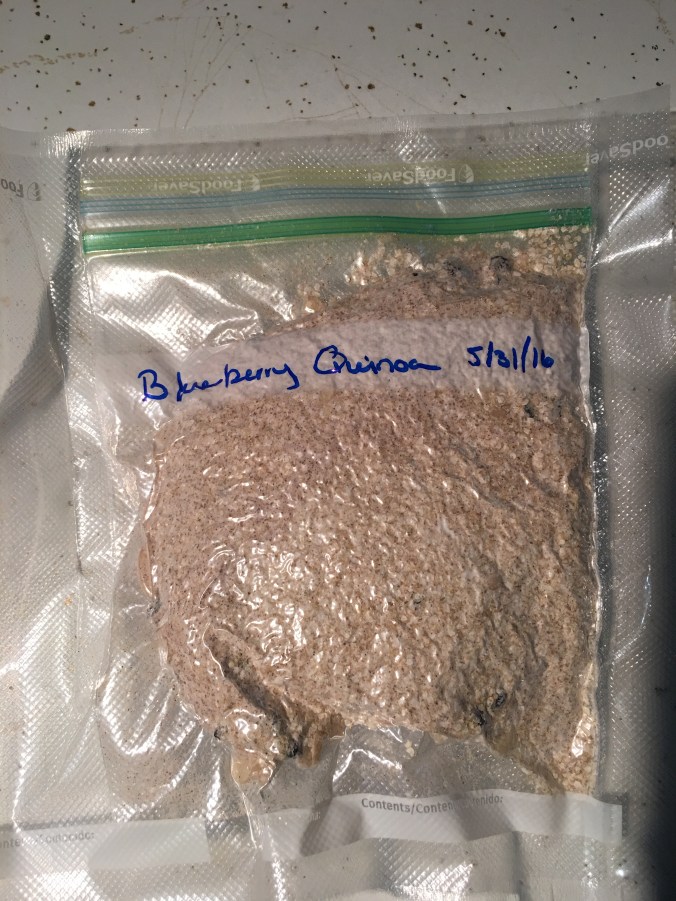
The blueberry quinoa only required me to dehydrate blueberries since the quinoa flakes are instant. Frozen blueberries seem to be the easiest to dehydrate, but let me warn you they take awhile. As in forever give or take a few hours. I believe mine took around 18 hours at around 135 but I know I also blocked out some specifics in this dehydrating marathon!
Now onto lunch. I have made this quinoa recipe before and thought it would make a great trail meal lunch. Filling but not too heavy. I liked it so much I even blogged about it at the time. You can check it out here: Ode to Quinoa

If you’ve never made quinoa before it is super easy! I start sauteing a shallot in some oil and then adding water and white cooking wine. Bring to a boil and cook your quinoa for 15 minutes at a simmer. Done! I then add a little bit of lemon juice and seasoning and spread out on trays at 125 for 4-6 hours.

From there I just added some chopped pistachios and dried cherries into the bag and sealed them up!

Everyone loves a good burrito. If not, get out of here right now because I’m entering burrito mode! I was a little nervous about how well the ground beef would dehydrate but thankfully my fears were for nothing. I chopped up an onion and threw it in the skillet with ground beef. Strained it then added my spices, refried beans and enchilada sauce. I let this simmer on low for roughly 20 minutes to thicken and develop all the flavors. That’s it folks! This was one of my easiest meals from start to finish. I dehydrated at 145 for 8 hours and woke up to perfectly dried burrito filling.


I added the corn shells into the packs since we are using them this weekend. However, for long term storage I don’t recommend keeping the shells in the bags.
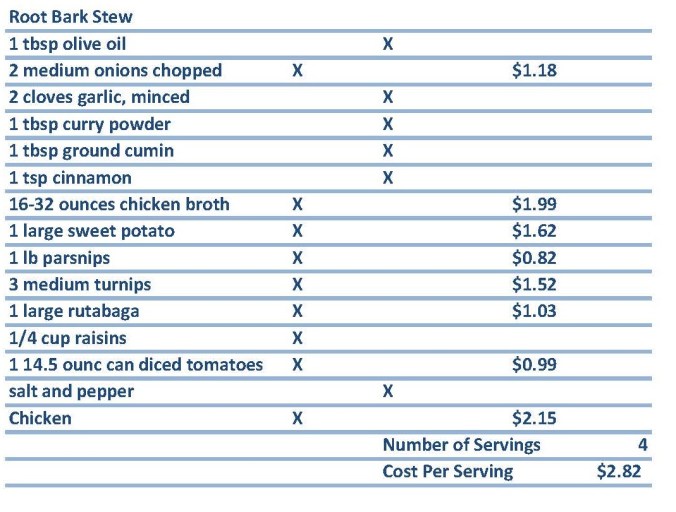
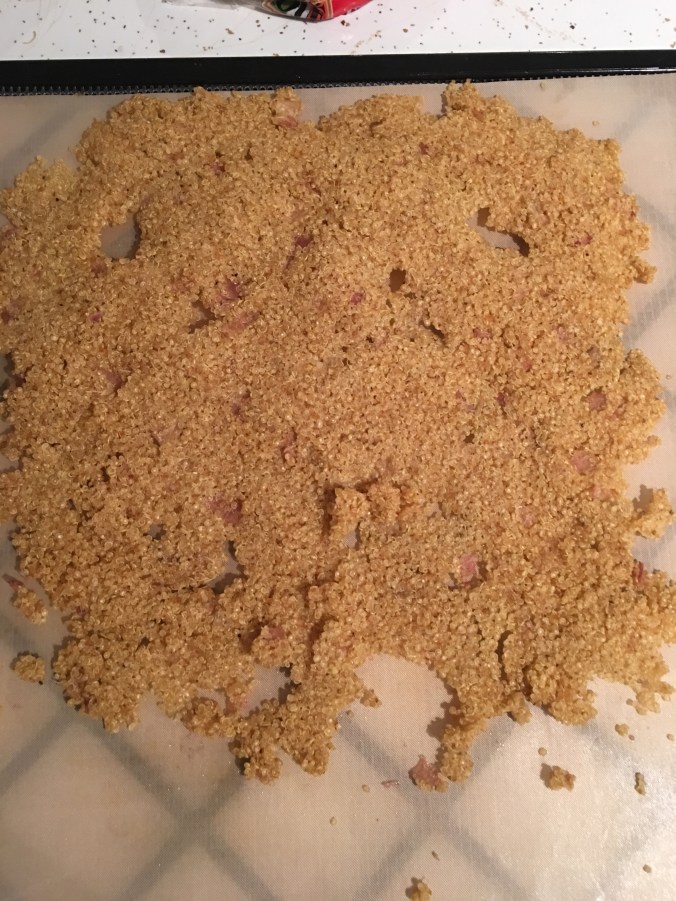
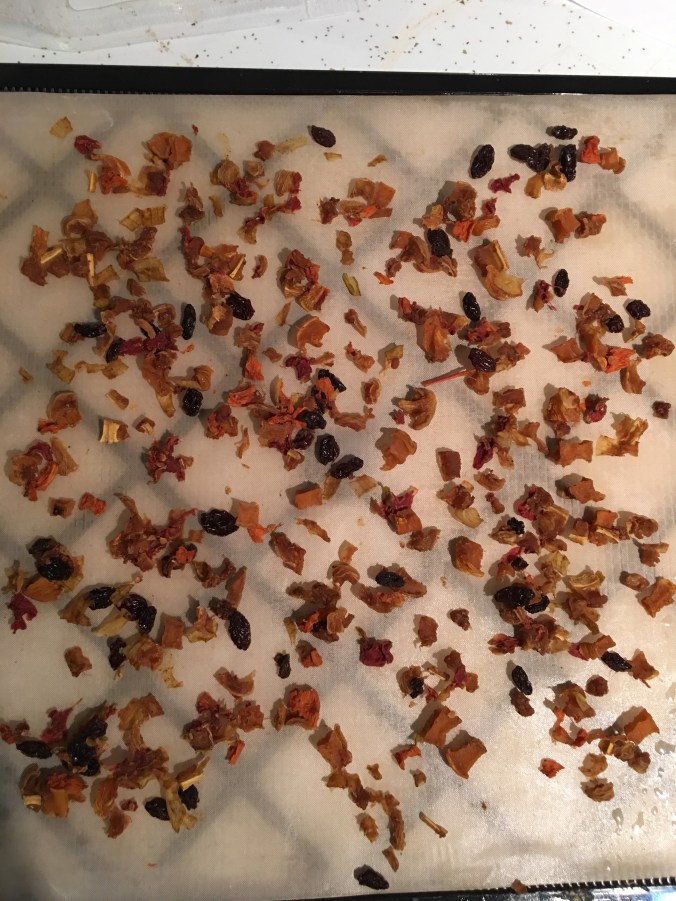
Now, onto this curried root bark stew! Warning: This was the most labor intensive meal I made for this whole trip. You know how you look at a recipe and think, well that’s not bad, I can do that? Now take that recipe and throw it into a whirlwind marathon of cooking, dehydrating and packing and suddenly you are asking yourself, “What on earth was I thinking?” The ingredients were simple, but it required a lot of chopping of root veggies, which we all know are just a delight! They filled up my largest soup pot and had to simmer for quite awhile to reach the right consistency. I also took 4 cups of the veggies and added them to the broth to make a root bark. This was then added to the bags and when we rehydrate it will help add thickness and flavor! For more on that bark check out it’s honorable mention here: How We Holiday

I also added dehydrated chicken from the Chicken Chow Mein recipe below. Waste not my friends!
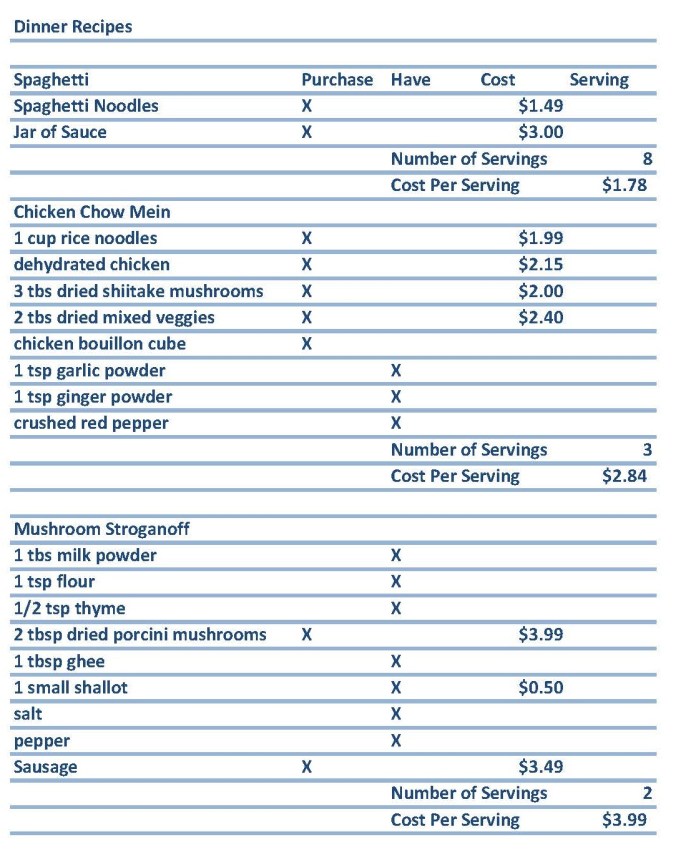
Now onto dinner! A romantic Italian meal on the trail. While I don’t think we will be having any Lady and the Tramp moments, pasta is easy, cost effective and filling. I made an entire box of spaghetti and added a jar of sauce with a few spices. I then let it sit in the fridge over night so the noodles could soak up most of the sauce. Threw that in the dehydrator for about 10 hours at 135. This made 4 bags with 2-3 servings each.
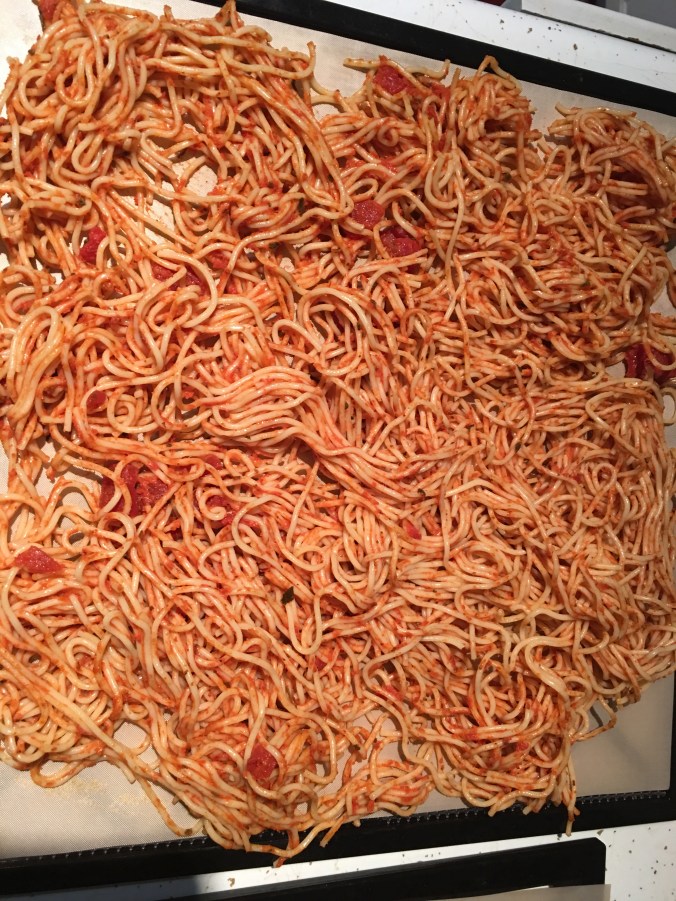


I also added sauce to a tray to make tomato leather. From there I added the leather to a blender and ground it up into a powder. I will then add that into the spaghetti mixture to add more sauce when we rehydrate.
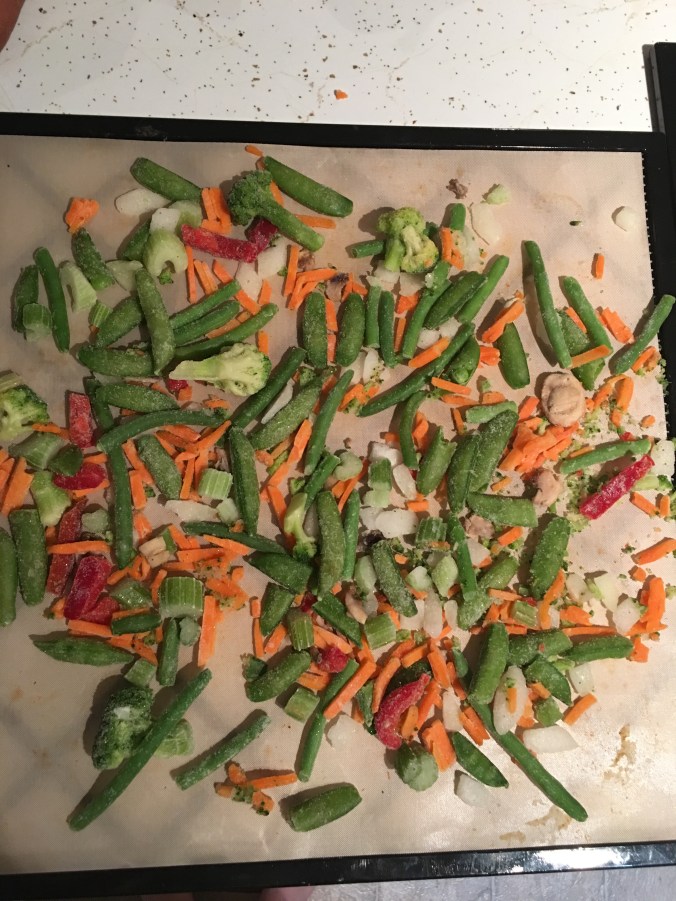
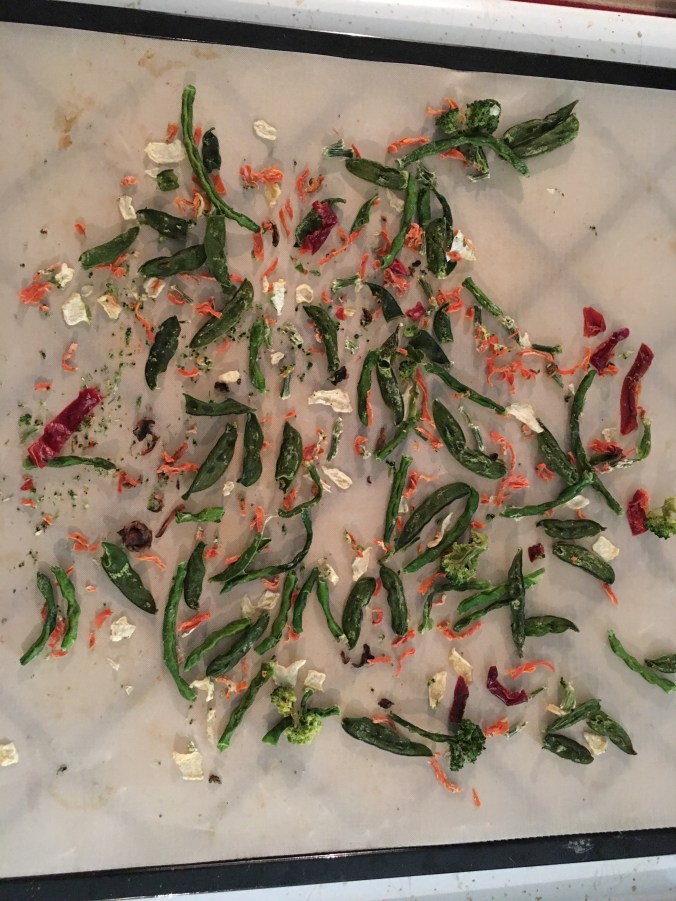
The chicken chow mein was also ranked as one of my top easy dishes. I purchased the smallest rice noodles I could find. These don’t need cooked so you can add them to your bag right away. I added a bag of frozen stir fry veggie mix to the trays at 135 for roughly 6 hours.
I made a brine for the thin cut chicken breasts and let them soak for a couple days in the fridge. I did this to impart some flavor without adding specific seasonings to the chicken since I wanted to use it in multiple dishes. From there I placed the breasts in my instant pot with some chicken broth and 15 minutes later there were ready to shred.
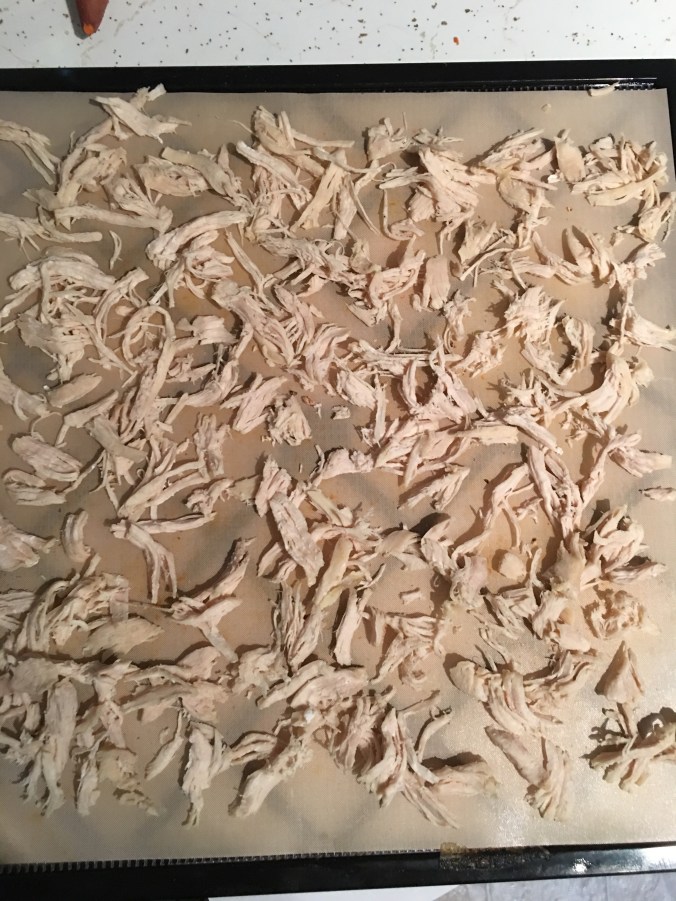


Simply add in your seasonings, and these are ready to pack!
Mushroom Stroganoff – Now this dish gave me some issues and it’s my own fault. The recipe was very simple and I decided to add some sausage to it. Turns out, sausage was really hard for me to dehydrate because of the fat content. I cooked it, strained it, paper toweled it dry and then put it on the tray. Eight hours later I notice a pile of grease in the middle. So repeat the whole straining process again and dehydrate some more. While I know it’s dehydrated I’m still a little concerned about it. Since we are eating it this weekend I’m not worried, but not sure I would trust it for long term storage. Also – I’m sure there is someone out there who is an expert on dehydrating sausage and I will figure it out!

Also side note: Any recipe that require milk powder, I used this coconut milk powder instead. Coconut Milk Powder
Here is the recipes for the barks I made on this trip. Some went into meals and some are just for snacks.
Now it’s time to talk about vacuum sealing. While I have vacuum sealed things years ago, I had mainly just used to to purchase bulk meat and package for freezing. I had never attempted to use dehydrated food. As it turns on, the majority of dehydrated ingredients will poke teeny tiny holes in the bags because of the vacuum pressure causing you to lose your seal within minutes if not immediately. I discovered this while trying to vacuum seal spaghetti at 10:30pm. I was so pleased with my meal I just wanted to package it so I felt completely satiated and instead ended up frustrated and close to tears.

After searching the web at 6am because I had to find a solution I discovered a recommendation to place dehydrated foods in a separate bag before placing in a vacuum seal bag. That’s right my friends. You have to double bag your food! Do not seal the first bag shut. Keep the seal open and the vacuum pressure will close it upon sealing.
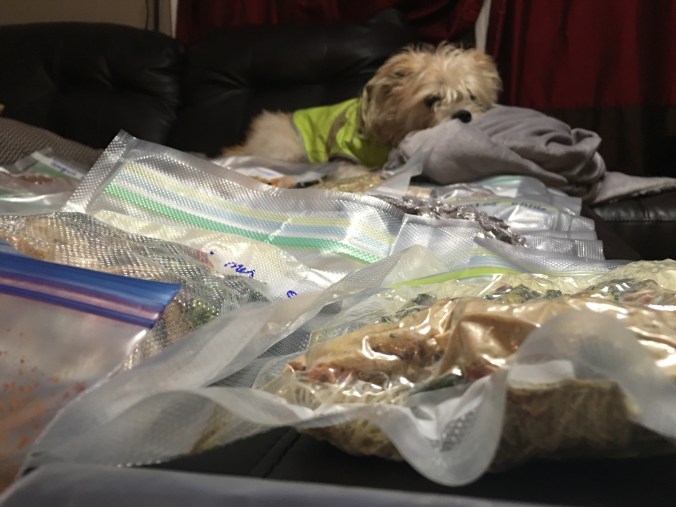
Here is the finished product of my labors! Nine different types of meals, which will feed us 16 times give or take and technically has 34 servings according to my calculations. However, 34 servings for average people are not the same as for The Beard!

Once again, Petey barely contributed to the process.
Like most things in life, this is a process of trial and error. Sometime things were easy and I was would jump for joy. While other times I wanted to scream and pull my hair out! However, as I learn so will you. I have six months of meals to prep for the AT and by George I will be a trail chef at the end of this!


")