CBD and Me – My Journey to Colorado

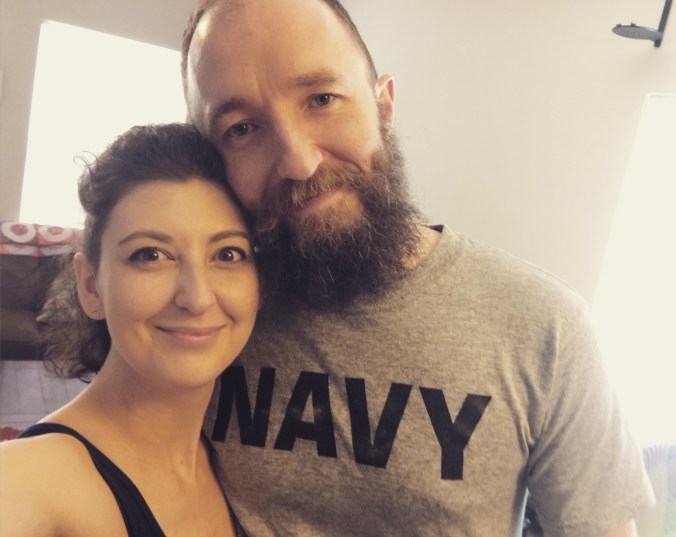
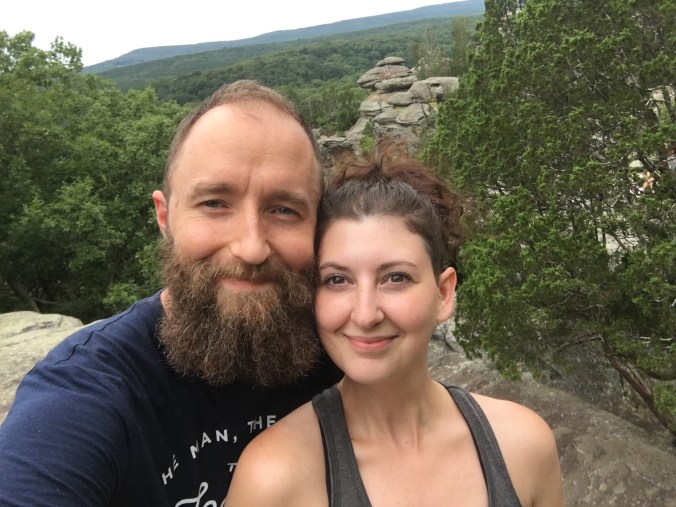
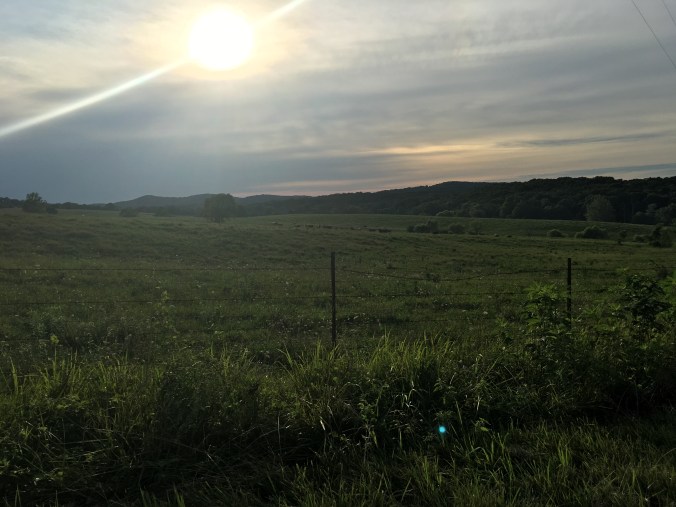
Recently The Beard and I embarked on a two week road trip across the country to hike, camp and explore. Our intended destinations were the Rocky Mountains, Grand Tetons and Yellowstone. While we were super excited for our adventure, we also had another motive. CBD.

For those of you who don’t know, CBD or Cannabidiol is a cannabis compound that has significant medical benefits, but does not make people feel stoned and can actually counteract the psycho-activity of the THC. It has been proven to provide relief for people suffering from inflammation, pain, anxiety, seizures, spasms, arthritis, diabetes, MS, chronic pain, PTSD, depression, epilepsy and other neurological disorders.

So what does this have to do with me? When I was 14 years old I was sitting in church and suddenly a pain shot up my back, down my right arm, and suddenly I couldn’t move my hand. My arm was essentially paralyzed for an hour. Once feeling returned my ability to grasp things was incredibly stinted. To this day I can only write with a pen for maximum five minutes.

What followed this was one of the toughest years of my life, and believe me, I’ve had some rough ones. All the muscles in my body began to seize up to the point it hurt to have clothes on, let alone allow someone to touch me. I couldn’t sleep, couldn’t eat, and at one point couldn’t even read due to whatever neurological issues were happening with my brain. I lived in agonizing pain and went from one ER room to the next all while being questioned by medical staff if I was just looking for attention. A pediatric neurologist actually recommended to my parents that I be institutionalized since he viewed me as a severely psychologically disturbed individual. Thankfully my parents didn’t give a second thought to his opinion, let alone even tell me at the time. I was in pain and no one believed me.

Eventually a pediatric rheumatologist diagnosed me with Fibromyalgia at the age of 15. I weighed 82 lbs. At the time this was a fairly new condition, one that the majority of the medical community believed was a fancy term for hypochondriac. Pharmaceutical companies were not making medicine geared toward Fibro, there weren’t commercials on TV talking about fibro pain, and there were no colored ribbons honoring the fight against an “invisible” illness.

Fast forward to college and I’ve been diagnosed with irritable bowel and chronic fatigue. I weighed 90 lbs as a freshman. As an art major school was a struggle. I had to spend so many hours in the studios drawing, painting, processing film for photography. I was so physically weak that I had friends who would meet me after classes and help carry my books and art supplies to my next classes. On bad days I would leave up to an hour before my classes started because I knew it would take me that long to physically walk to class.

Later in my  mid twenties I was diagnosed with endometriosis and had my fifth surgery right before my 25th birthday. A few years later my cortisol levels dropped so low my body had no ability to manage stress and I had panic attacks daily. The pain from these attacks would last for hours leaving me in such a weakened state the doctor threatened to hospitalize me if I didn’t have some round the clock care. I could barely walk down the hallway unassisted.

Entering my late twenties I started having unexplainable pain in my left side. It was excruciating at times and you could visibly see the swelling in my spleen area. Having had every test under the sun to this day doctor’s have yet to confirm a diagnosis.

Last summer I had five kidney stones removed from both kidneys and noticed a weird correlation in my PMS symptoms subsiding. Unfortunately that didn’t last for long and six months later they were back with a fury I have never experienced. While the average woman may experience cramping and some discomfort I am down for the count. My symptoms include nerve pain in my legs, kidney pain, severe cramping and tearing, fevers, nausea and vomiting to name a few.

I have recently come to believe there might also be a possibility that a majority of my unexplained medical issues are to do something called Mixed Connective Tissue Disease. This can be confirmed by a blood test which I have yet to have done but plan on doing soon.

So this brings us to the present day and back to our quest for CBD. We drove across the border into Colorado and found a well reviewed dispensary thanks to an app called Weed Maps. We walked in feeling like we semi-knew what to expect thanks to our binge watching of a show called Weedequitte on Viceland. I highly recommend checking it out.

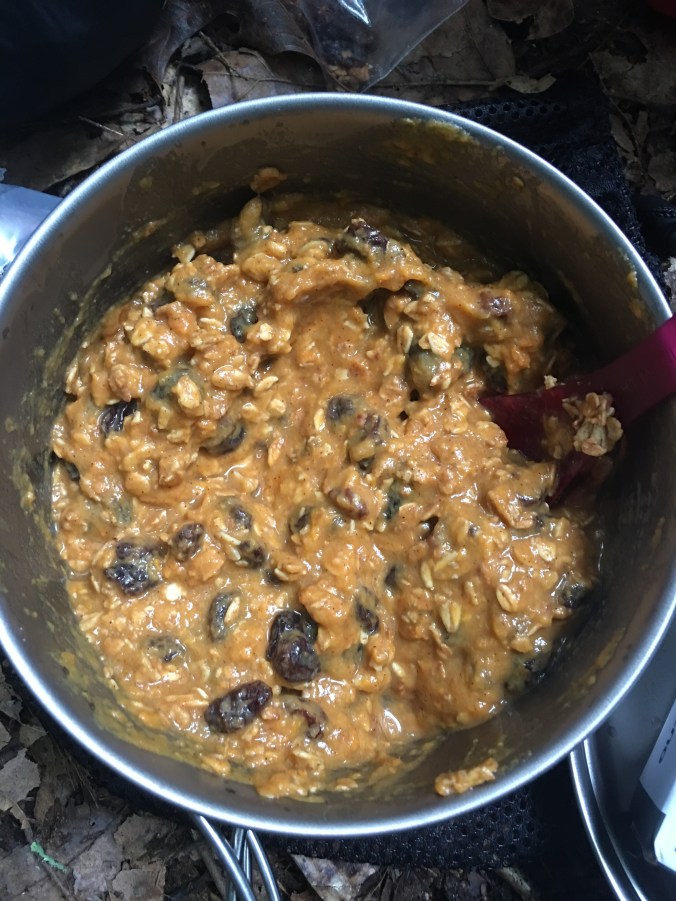
The people working behind the counters are called budtenders and were incredibly helpful. I explained that I was looking for some CBD edibles for pain management and they reviewed several options. The first thing I tried were these Synergy mints. They contain a 1.1 ratio of CBD to THC, each mint containing 5 mg of both.

Photo Aug 10, 11 30 19 AM

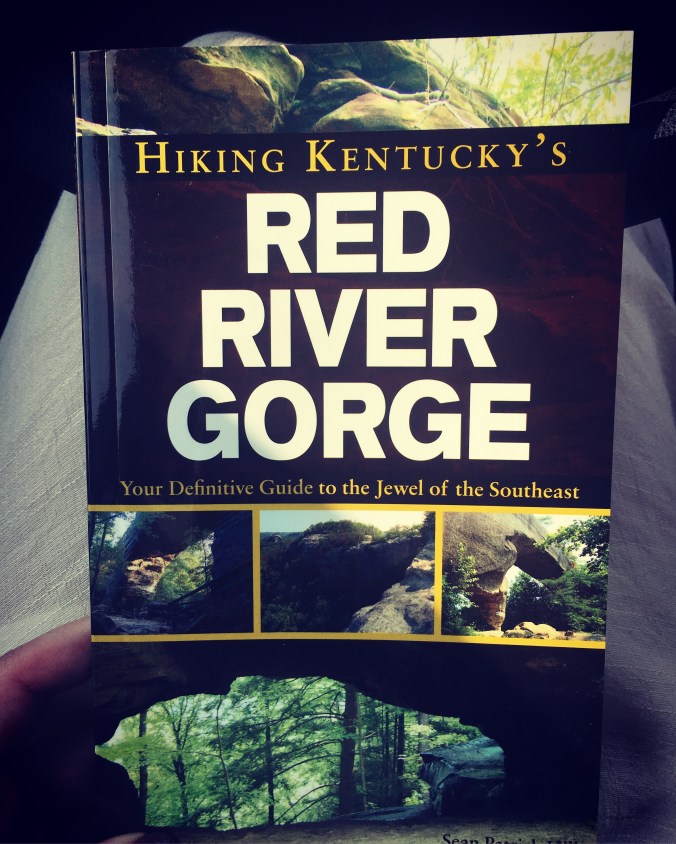
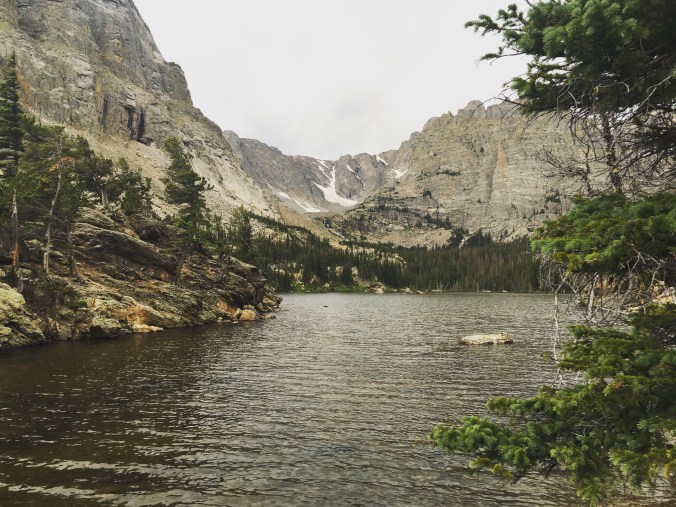
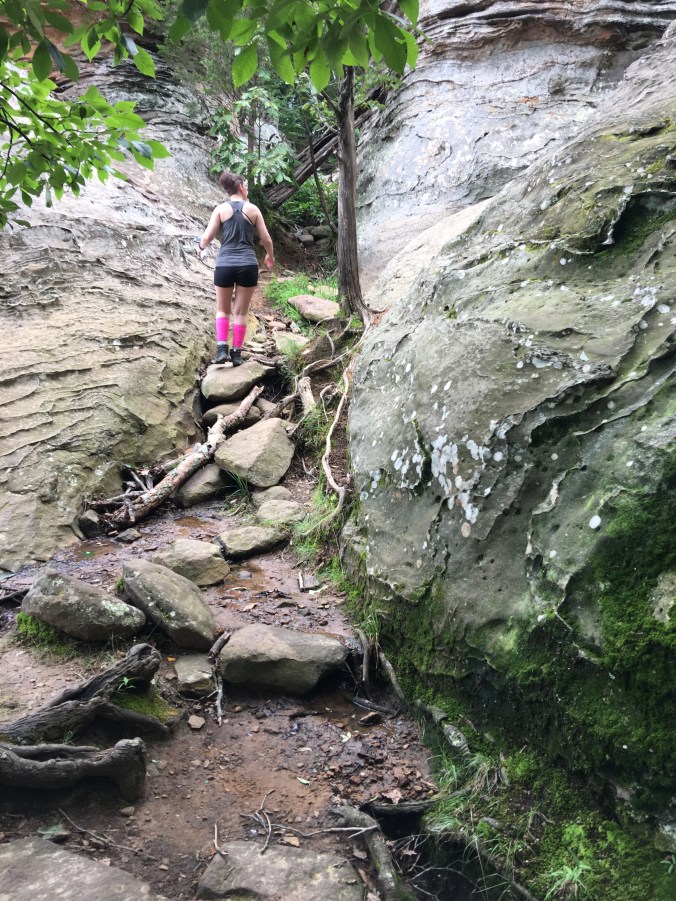
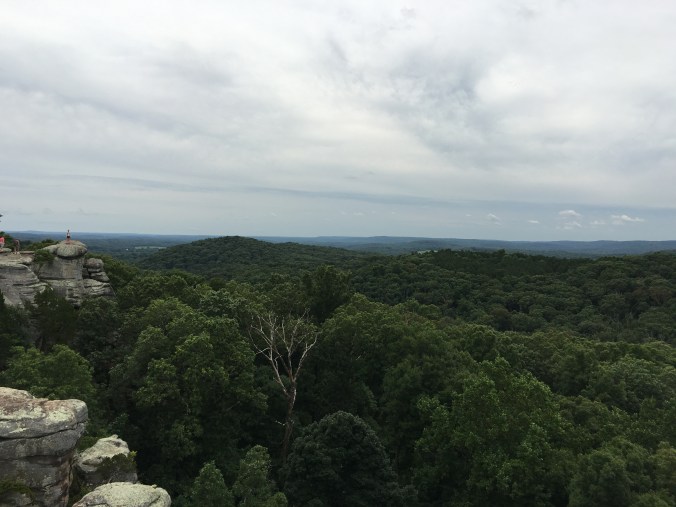
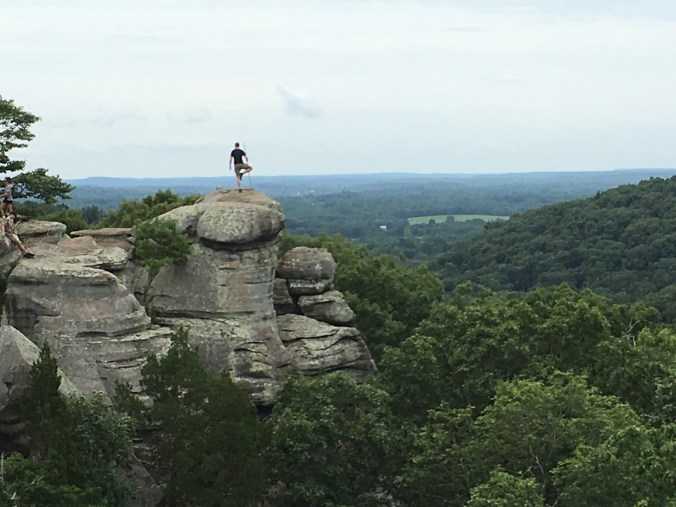
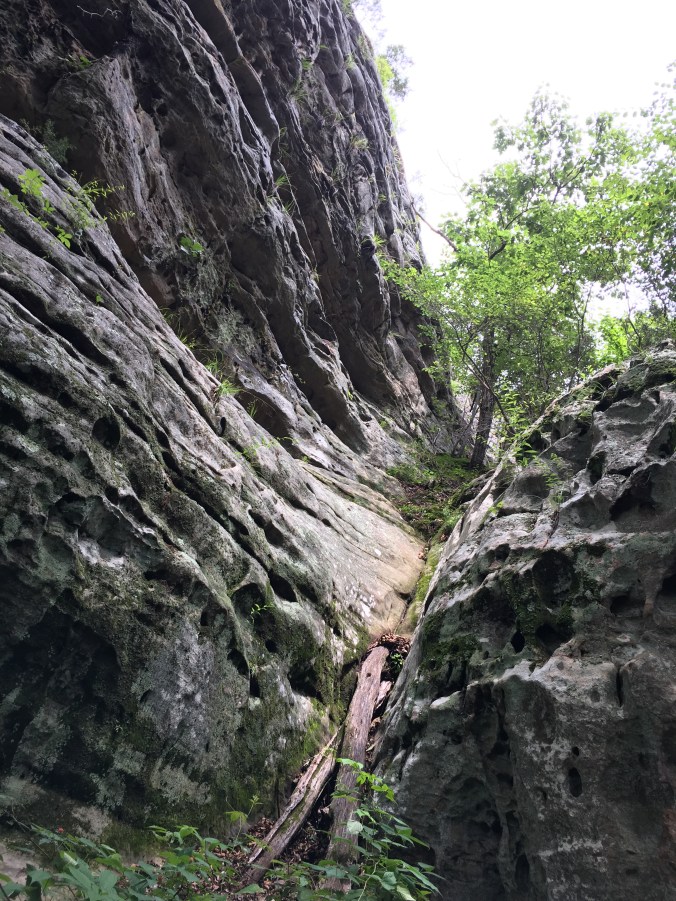
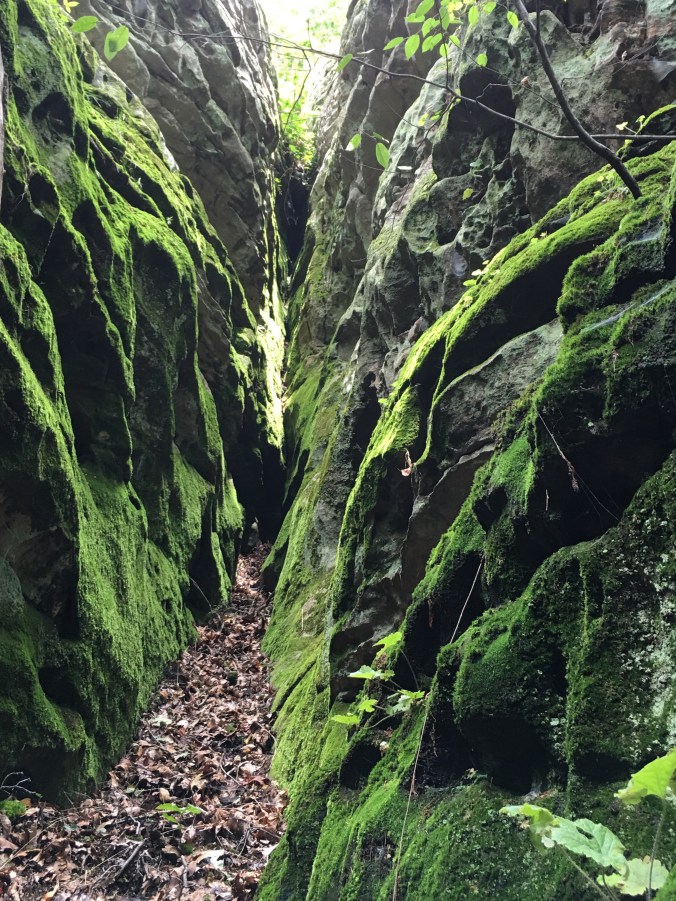
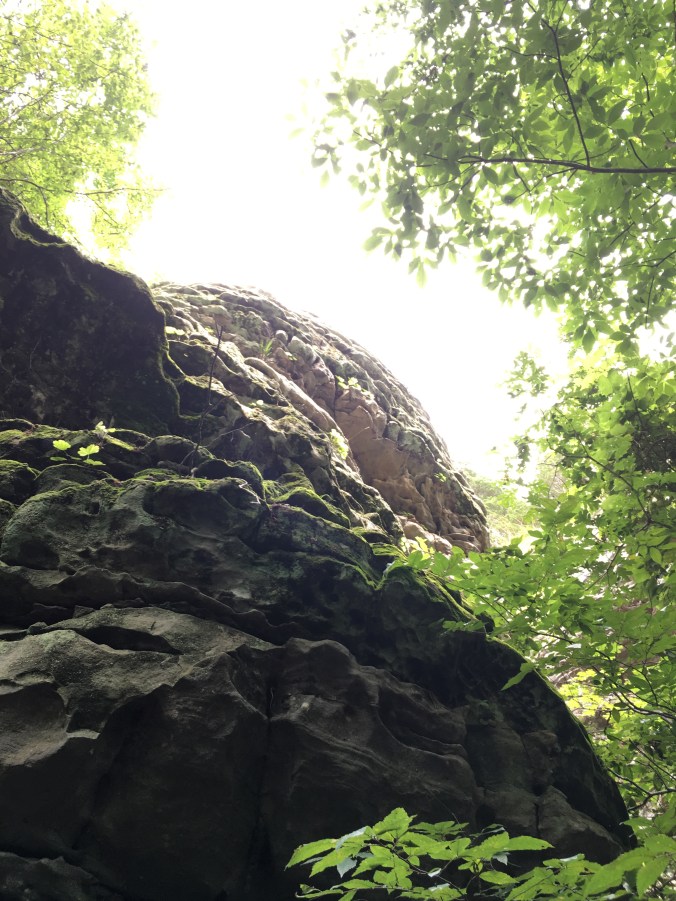
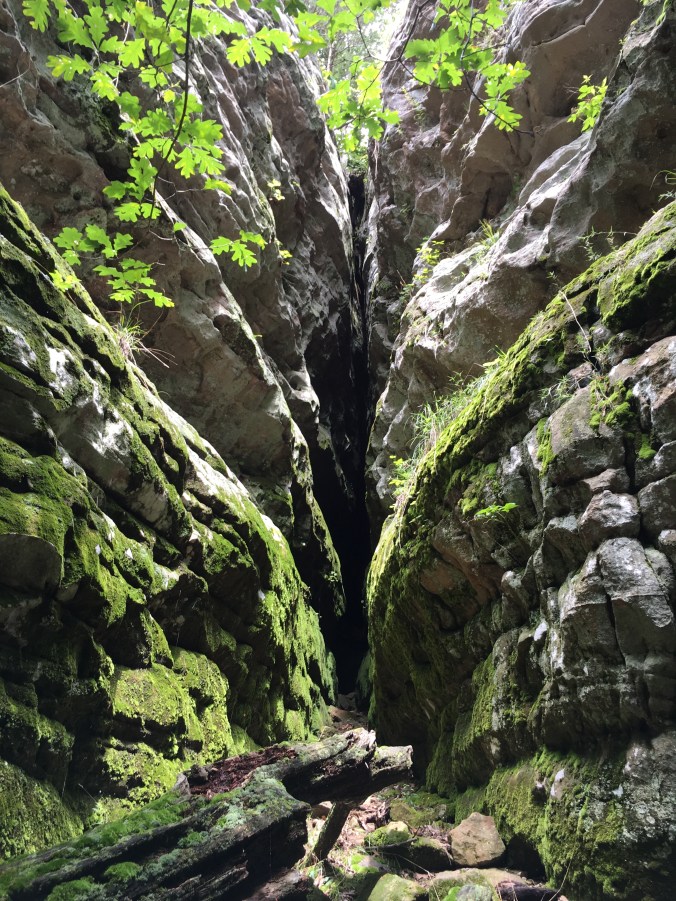
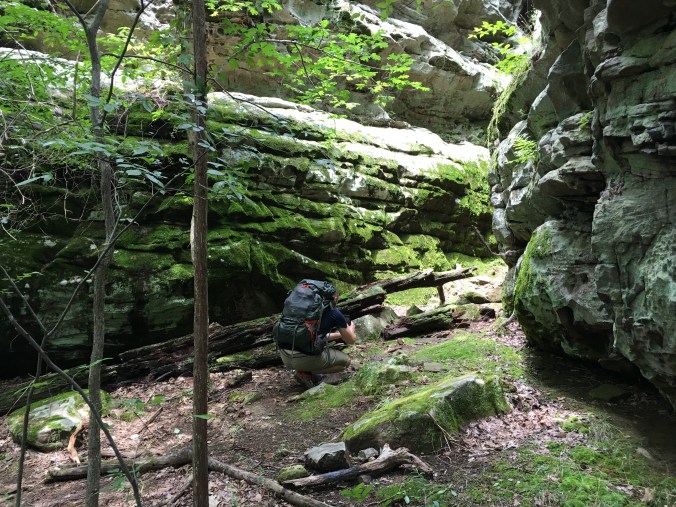
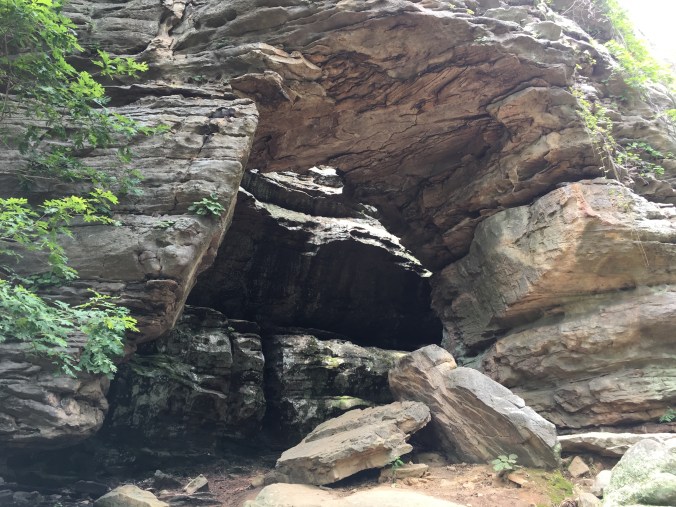
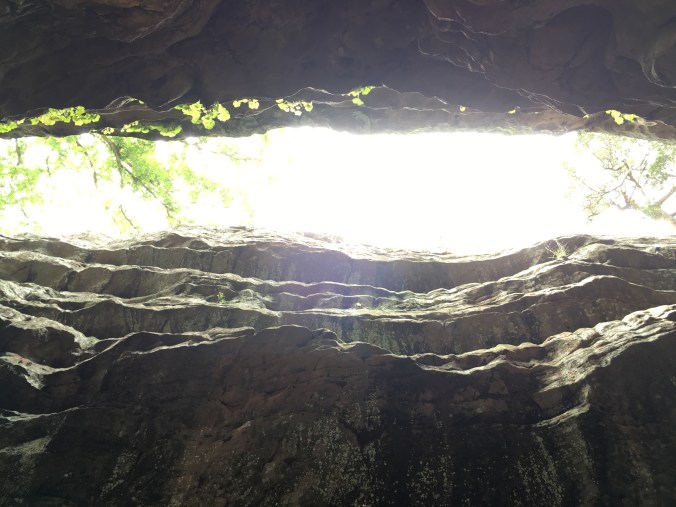
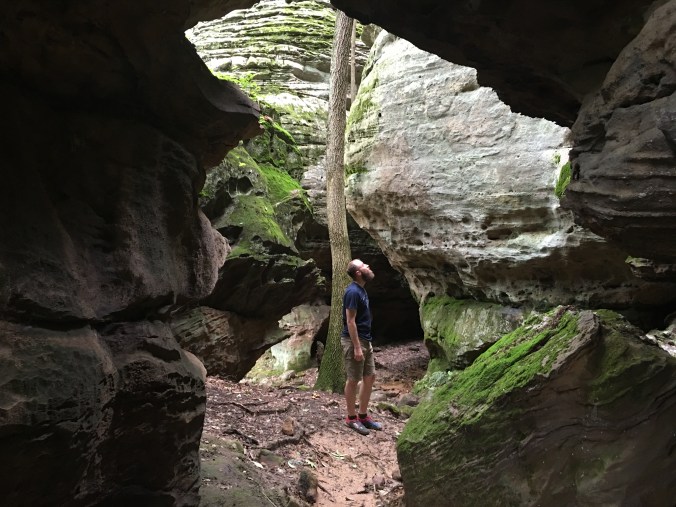
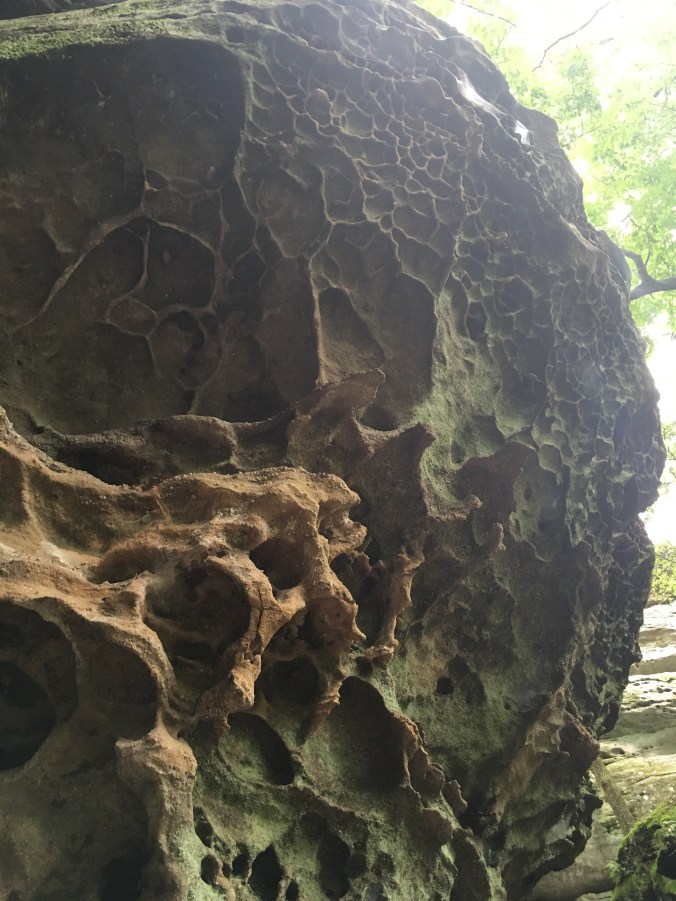
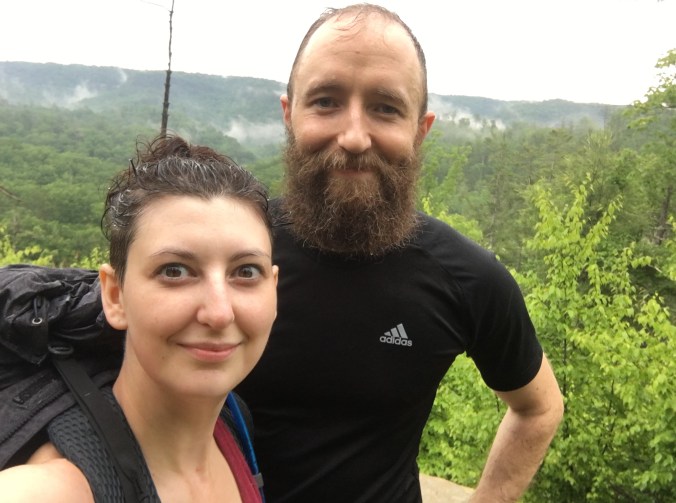
I took 10 mg after eating a hearty lunch and we went on a hike up to Loch Vale near Estes Park. To give you a point of reference, when we went hiking this summer at Red River Gorge in Kentucky there was a point on the trail that I was literally in tears. My side pain (spleen) was flared up causing me to double over. My kidneys seemed to be throbbing with every step, and cramps had started causing me intense pain. My hands and legs were super swollen and I was just miserable.

Now here I am with 10mg CBD and hiking up this trail like nobody’s business. We hiked somewhere around 11 miles and not one symptom. Not one twinge. My spleen didn’t hurt, my kidneys were content and my body wasn’t swelling up like a balloon. The only thing I did notice was how hungry I was! Me, the person who rarely experiences hunger and tends to forget to eat, was devouring every snack in my pack. All I could think was, “Is this how other people feel all the time?”

Photo Aug 10, 4 50 30 PM

Photo Aug 10, 7 00 06 PM

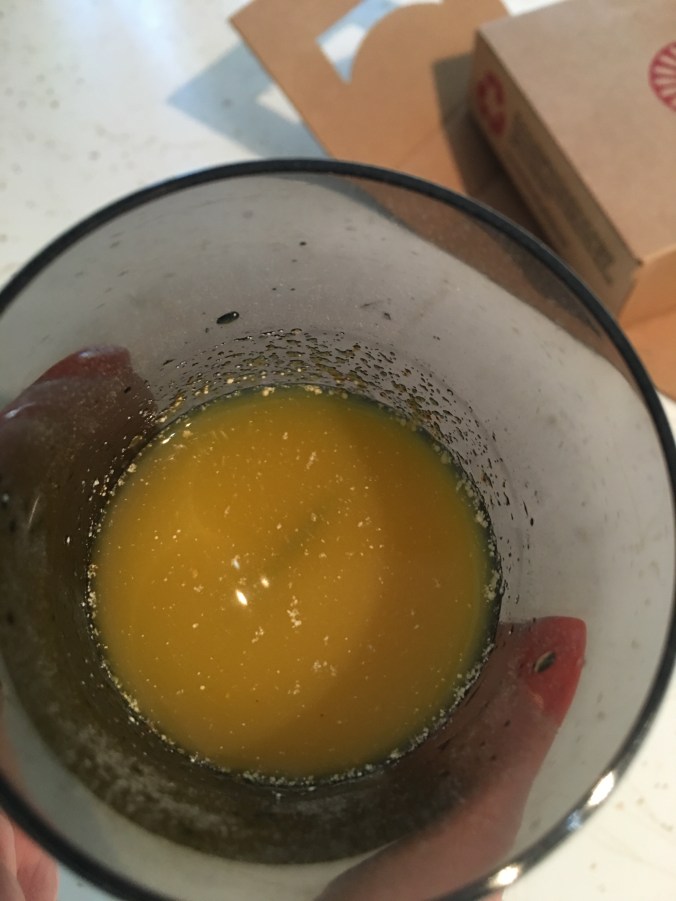
We also purchased these drops. These contain a 1.1 ratio of CBD to THC as well. I am a person who has spent half their life nauseous. When PMS symptoms start my body immediately starts vomiting. All I needed was .25mg of the drops and nausea, migraines and cramping disappeared within the hour. Compare that to 800mg of Tramadol, a narcotic that barely takes the edge off my pain.

Photo Aug 18, 1 53 00 PM

For someone who has spent the past seventeen years in pain, dealing with one unexplainable issue after another, the concept of feeling fine is relative. I’m exhausted, this hurts and that hurts, but I’m not doubled over so today is a good day, barely scratches the surface on an explanation. To hear from doctor after doctor that, “They’ve never seen this before” is frustrating but also expected since you didn’t think they could help you in the first place. To be resigned that this is life, and I’m a tough chick and I will always try to make the best out of what I’m given and stay positive, is good yet sad.

However, to finally go to a place and try the one thing you’ve held out hope would help you and it does, is such an emotional experience. I took CBD and I didn’t hurt. Not just, well I don’t feel too bad, or the pain isn’t that severe, or it’s only coming in small waves. I DON”T HURT! I’m thirty-one years old and I don’t remember a time when that was true. Finally I’ve found something to help me and there’s just one problem. It’s illegal in most of the United States. The federal government still considers marijuana a schedule one drug, right up there with heroin. While the CBD I purchased only contained small amounts of THC, it is still a bi-product of marijuana and considered a felony to possess outside of the few legalized states we have.

While you may have a different view point on the effects of legalizing marijuana just think about this for a minute. Think back to a time when you had the flu. You have a fever, chills, you feel achy all over and you can’t keep anything down. It’s the worst and you wish someone would put you out of your misery. Now imagine that there was a drop you could take that could remove all those symptoms within the hour. However, it’s illegal where you live. It can take away all your pain, but you can’t have it. Instead, you get to continue experiencing all your flu symptoms every minute, of every hour, of every day. That’s what is happening to millions of people thanks to the federal government.

While I can’t make it happen over night, my goal is to eventually move to a legalized state. If you could be pain free, wouldn’t you?

Photo Aug 10, 6 58 15 PM

Saturday in Shawnee

This weekend we loaded up our gear and headed down to Shawnee National Forest. After our recent foray at Red River Gorge we reevaluated our packing procedures and shed a lot of unnecessary gear lightening up our packs quite a bit. How quickly things change in 6 weeks!

Red River Gorge: Stress, prep, stress, plan, stress, pack.
Shawnee National Forest: We don’t need this, I think we have enough food, ok I’m ready!

We arrived at the park and headed over to the Garden of the Gods. Since this was a popular area we had to maneuver around other people which was tedious at times. The Beard kept saying, this is why we don’t hike with the public….

So prepare yourself for an onslaught of pictures, or if you’re too lazy to physically scroll through each one, zoom down to the bottom and watch our video montage!

Photo Jul 09, 1 26 19 PM

Photo Jul 09, 1 36 01 PMPhoto Jul 09, 1 37 23 PMPhoto Jul 09, 1 43 45 PMPhoto Jul 09, 1 39 18 PMPhoto Jul 09, 1 45 37 PM
Photo Jul 09, 1 29 37 PMPhoto Jul 09, 1 48 34 PM (1)Photo Jul 09, 1 49 52 PMPhoto Jul 09, 1 40 21 PM
Photo Jul 09, 1 36 09 PM

And of course, we had to get some cool shots while we were here….

Photo Jul 09, 1 56 13 PM
Photo Jul 09, 2 00 48 PM
Photo Jul 09, 1 56 01 PM

After our fun on the cliffs we headed deeper into the woods.


Photo Jul 09, 3 02 03 PM (1)Photo Jul 09, 3 03 28 PMPhoto Jul 09, 3 05 01 PM (1)Photo Jul 09, 3 05 25 PM

It sure was beautiful! I also captured a shot of The Beard capturing a shot of nature. Shot inception!

Photo Jul 09, 3 06 25 PM

Photo Jul 09, 3 13 23 PM (1)Photo Jul 09, 3 14 12 PMPhoto Jul 09, 3 15 15 PMPhoto Jul 09, 4 40 14 PMPhoto Jul 09, 4 40 53 PMPhoto Jul 09, 4 42 44 PMPhoto Jul 09, 4 43 56 PMPhoto Jul 09, 4 43 00 PMPhoto Jul 09, 4 45 12 PMPhoto Jul 09, 4 46 02 PM

The forest was beautiful but for those thinking of heading out there yourselves, be warned their maps are the worst we’ve seen. Very haphazard and based on our calculations, the mileage wasn’t correct either. At one point we were stuck on a trail The Beard referred to as “Hell” because we were wading through mud and tons and tons of spiders! We decided we were NOT going back that way and ended up taking the road through the country side much to the dismay of a large herd of cows.

Photo Jul 09, 7 48 06 PM (1)Photo Jul 09, 7 53 07 PMPhoto Jul 09, 8 25 17 PMPhoto Jul 09, 8 25 36 PM
Photo Jul 09, 9 39 48 PMPhoto Jul 09, 9 39 55 PMPhoto Jul 09, 9 42 48 PM

However, in our typical fashion we made it to the car right as nightfall hit.We survived our hike and got in 13.67 miles! As always, I love spending time together, even if it involves spiders, mud and a few more miles than anticipated!

Quick Jog Through June

Where has this month gone? Last time I was blogging we were getting ready to head out to Red River Gorge and now we are on the precipice of July! So what have we been up to? LOTS! Cue video montage….

Aren’t we cute? So, I bet you’re wondering how all that dehydrated food turned out. The answer is awesome! This trip was our first opportunity to gear test, well everything. Our packs, new hiking boots, tent, air pad, sleeping bags, cooking stove, water filtration and yes, dehydrated food. The Beard will be updating you all with a run down of gear performance, mileage and discovery since he is the expert and I will update you on what I know best. Food!

Photo Jun 03, 7 37 56 PM

Welcome to our campsite! While The Beard set up our humble abode I set about making dinner. We opted for beef & bean burritos because they were the heaviest meal in our pack, so best to get out of the way first! While it might not look like much, typically burritos never do! Slapped a few spoon fulls onto some tortillas and we were in business. This was one of the easiest dehydrated meals I made and also incredibly delicious!

The next morning we knew that rain was on the way so The Beard packed up camp while I made breakfast. We have a system folks. We had a sweet potato porridge that was warm, filling and delicious! The Beard was a huge fan!

Photo Jun 04, 8 54 03 AM

We finished and hit the trail just as the rain started pouring down. We continued in the deluge for several hours but happened to catch a break on the top of the ridge.

Photo Jun 04, 10 18 01 AM

A few hours later it was time for lunch! Spaghetti! We found a spot to lay our gear in the sun and cook our fancy Italian feast! Since we were dealing with pasta, it did take longer to rehydrate than some of our previous meals. I don’t know if it was the combination of fatigue and hunger, but that was the best spaghetti I’ve had in a long time!

Red River Gorge was Gorgeous! So many different eco systems along the Rough Trail! We survived our journey and will be heading out in a few weeks to Shawnee National Forest! Stay tuned!


Trail Food Prep 101

When The Beard first announced he was going to hike the Appalachian Trail one of my first thoughts were, “How are we going to feed him?” Fast forward six months later and we are headed out to Red River Gorge to gear and taste test.

After lots of internet research on trail food prep it was finally time for me to embark on making our meals. The plan is to make several different things this summer to see what is easy to produce, what is cost effective and what flavors we like best. From there we will begin creating our stock for the AT 2017! So buckle up because I have lots of pictures and an overwhelming amount of info!

Photo May 24, 1 35 25 PM

For this three day hike I needed to make 9 meals. I started with creating a spreadsheet because I can’t function in a world without them! I created my meal plan on the first tab. From there each sequential tab was labeled Breakfast, Lunch, Dinner. Under each tab I listed the meal followed by ingredients and measurements. I created columns next to each item so knew if it was something I had on hand or needed to purchase. I want to preface that I know this can be done cheaper when purchasing basics in bulk and we will be doing that for the AT. However, for this hike we are simply testing everything out. So let’s start with breakfast!

Breakfast
The majority of these meals were easy to prep as most of it does not require cooking or dehydrating. The cinnamon oatmeal only required assembly.
Photo May 24, 5 57 38 PM

The sweet potato porridge only required me to make sweet potato bark. I added my sweet potatoes to my instant pot and they were mashable within ten minutes! From there I added applesauce, maple syrup and cinnamon and spread it on a dehydrator tray.  I dehydrated at 125 for about 8 hours. Also – the sweet potato bark is delicious and you can eat it on it’s own!

Photo May 31, 6 17 33 PM

The blueberry quinoa only required me to dehydrate blueberries since the quinoa flakes are instant. Frozen blueberries seem to be the easiest to dehydrate, but let me warn you they take awhile. As in forever give or take a few hours. I believe mine took around 18 hours at around 135 but I know I also blocked out some specifics in this dehydrating marathon!

Photo May 31, 6 17 25 PM

Now onto lunch. I have made this quinoa recipe before and thought it would make a great trail meal lunch. Filling but not too heavy. I liked it so much I even blogged about it at the time. You can check it out here: Ode to Quinoa

Lunch_Page_1
Lunch_Page_2
If you’ve never made quinoa before it is super easy! I start sauteing a shallot in some oil and then adding water and white cooking wine. Bring to a boil and cook your quinoa for 15 minutes at a simmer. Done! I then add a little bit of lemon juice and seasoning and spread out on trays at 125 for 4-6 hours.

Photo Jun 01, 6 05 48 PMPhoto Jun 01, 10 32 55 PM

From there I just added some chopped pistachios and dried cherries into the bag and sealed them up!

Photo Jun 01, 10 43 22 PM

Everyone loves a good burrito. If not, get out of here right now because I’m entering burrito mode! I was a little nervous about how well the ground beef would dehydrate but thankfully my fears were for nothing. I chopped up an onion and threw it in the skillet with ground beef. Strained it then added my spices, refried beans and enchilada sauce. I let this simmer on low for roughly 20 minutes to thicken and develop all the flavors. That’s it folks! This was one of my easiest meals from start to finish. I dehydrated at 145 for 8 hours and woke up to perfectly dried burrito filling.

Photo May 31, 6 00 43 PMPhoto Jun 01, 7 44 12 AM (1)Photo Jun 01, 7 53 55 AM (1)
I added the corn shells into the packs since we are using them this weekend. However, for long term storage I don’t recommend keeping the shells in the bags.

Now, onto this curried root bark stew! Warning: This was the most labor intensive meal I made for this whole trip. You know how you look at a recipe and think, well that’s not bad, I can do that? Now take that recipe and throw it into a whirlwind marathon of cooking, dehydrating and packing and suddenly you are asking yourself, “What on earth was I thinking?” The ingredients were simple, but it required a lot of chopping of root veggies, which we all know are just a delight! They filled up my largest soup pot and had to simmer for quite awhile to reach the right consistency. I also took 4 cups of the veggies and added them to the broth to make a root bark. This was then added to the bags and when we rehydrate it will help add thickness and flavor! For more on that bark check out it’s honorable mention here: How We Holiday

Photo May 28, 11 17 56 AMPhoto May 28, 11 37 30 AM
I also added dehydrated chicken from the Chicken Chow Mein recipe below. Waste not my friends!

Dinner
Now onto dinner! A romantic Italian meal on the trail. While I don’t think we will be having any Lady and the Tramp moments, pasta is easy, cost effective and filling. I made an entire box of spaghetti and added a jar of sauce with a few spices. I then let it sit in the fridge over night so the noodles could soak up most of the sauce. Threw that in the dehydrator for about 10 hours at 135.  This made 4 bags with 2-3 servings each.

Photo May 25, 7 36 17 AMPhoto May 25, 9 19 38 PMPhoto May 25, 9 26 54 PM

I also added sauce to a tray to make tomato leather. From there I added the leather to a blender and ground it up into a powder. I will then add that into the spaghetti mixture to add more sauce when we rehydrate.


The chicken chow mein was also ranked as one of my top easy dishes. I purchased the smallest rice noodles I could find. These don’t need cooked so you can add them to your bag right away. I added a bag of frozen stir fry veggie mix to the trays at 135 for roughly 6 hours.

Photo May 25, 9 51 09 PMPhoto May 26, 4 37 21 PM

I made a brine for the thin cut chicken breasts and let them soak for a couple days in the fridge. I did this to impart some flavor without adding specific seasonings to the chicken since I wanted to use it in multiple dishes. From there I placed the breasts in my instant pot with some chicken broth and 15 minutes later there were ready to shred.

Photo May 26, 5 37 03 PMPhoto May 27, 7 45 07 AM
Photo May 31, 6 17 02 PM
Simply add in your seasonings, and these are ready to pack!

Mushroom Stroganoff – Now this dish gave me some issues and it’s my own fault. The recipe was very simple and I decided to add some sausage to it. Turns out, sausage was really hard for me to dehydrate because of the fat content. I cooked it, strained it, paper toweled it dry and then put it on the tray. Eight hours later I notice a pile of grease in the middle. So repeat the whole straining process again and dehydrate some more. While I know it’s dehydrated I’m still a little concerned about it. Since we are eating it this weekend I’m not worried, but not sure I would trust it for long term storage. Also – I’m sure there is someone out there who is an expert on dehydrating sausage and I will figure it out!

Photo Jun 01, 5 34 14 PM

Also side note: Any recipe that require milk powder, I used this coconut milk powder instead. Coconut Milk Powder

Here is the recipes for the barks I made on this trip. Some went into meals and some are just for snacks.

Bark

Now it’s time to talk about vacuum sealing. While I have vacuum sealed things years ago, I had mainly just used to to purchase bulk meat and package for freezing. I had never attempted to use dehydrated food. As it turns on, the majority of dehydrated ingredients will poke teeny tiny holes in the bags because of the vacuum pressure causing you to lose your seal within minutes if not immediately. I discovered this while trying to vacuum seal spaghetti at 10:30pm. I was so pleased with my meal I just wanted to package it so I felt completely satiated and instead ended up frustrated and close to tears.

Photo May 25, 9 55 46 PM
After searching the web at 6am because I had to find a solution I discovered a recommendation to place dehydrated foods in a separate bag before placing in a vacuum seal bag. That’s right my friends. You have to double bag your food! Do not seal the first bag shut. Keep the seal open and the vacuum pressure will close it upon sealing.

Here is the finished product of my labors! Nine different types of meals, which will feed us 16 times give or take and technically has 34 servings according to my calculations. However, 34 servings for average people are not the same as for The Beard!

Photo Jun 01, 10 45 07 PM

Once again, Petey barely contributed to the process.

Photo Jun 01, 10 45 19 PM

Like most things in life, this is a process of trial and error. Sometime things were easy and I was would jump for joy. While other times I wanted to scream and pull my hair out! However, as I learn so will you. I have six months of meals to prep for the AT and by George I will be a trail chef at the end of this!

How We Holiday

This past week has been a dehydrating gauntlet. We are only days away from our Red River Gorge Hike and the excitement is setting in. I have been experimenting with various recipes, dehydrating and vacuum sealing techniques and while I want to share it all with you, I’m not quite done! So bear with me so I can write a blog complete with all the info! However, as a teaser I thought I’d share one of our quick experiments.

One of our trail meals will be a chicken and root veggie stew. I took some of the veggies and pureed them with the stew broth to make a root veggie bark. Since I had leftovers we decided to test it out and re-hydrate! The stew bark has curry powder, cumin and cinnamon and once re-hydrated it tastes like a curried veggie mash! The Beard was especially fond of scooping it up with bacon.


As usual, our days revolve around food, so here are a few shots from this weekend. Poached eggs with red bell peppers, shallots, garlic and swiss chard.

Photo May 27, 9 57 30 PM

Grass fed Grilled Porter House straight from The Beard’s family farm.

Photo May 28, 5 13 16 PM

I celebrated Memorial Day Weekend by crying on the deck…aka chopping onions. I put these in a crock pot with olive oil and balsamic vinegar to make the perfect caramelized onions!

Photo May 29, 2 47 11 PM

Petey was feeling celebratory as well and suggested this selfie.

Photo May 28, 2 02 53 PM

The Beard & I hanging out with friends.

Photo May 30, 2 12 47 PM

And finally, video evidence of our fun, productive, relaxing weekend! Stay tuned for trail food updates!

Kelty Girl

Have you heard the song, “This Magic Moment” by The Drifters? I was pretty obsessed with them when I was twelve. Yes, I know that’s weird but seeing as how I turned out, it all makes sense. The reason I asked is because it was playing in my head as I pulled up to the house and saw a giant box from REI on my front porch.

A few weeks ago I went for my second pack fitting for an Osprey bag. According to their sizing I am supposed to me a small / possibly medium. However, I quickly learned that in the world of packs I have an unusually long torso for a woman. Every woman’s pack I tried on ended up with the waist straps no where near my hips. At all. So we decided to try on a unisex, Redwing 50 by Kelty.

The Beard, along with the sales clerk strapped this on me and proceeded to tug and pull various straps and tethers making me feel like a ship they were rigging to set sail! After a few minor adjustments it fit perfectly and I didn’t look like I was wearing a toddler’s pack! In true Beauty & The Beard fashion, we didn’t purchase the gear that day, instead opting to wait for the anniversary sale. Hence, the special delivery on my doorstep.

I opted to Take the Black, a little game of thrones reference for you fans out there. The other color options were red and teal, which just seem like a giant bulls eye on your back in the wilderness. Originally $140, I purchased it for $112.

Photo May 23, 5 58 26 PM

I also ordered this air pad. The compact design will work well for backpacking, as the least amount of weight I have to carry the better! Originally $99, I purchased for $75.

The Beard asked what I wanted to do for my birthday and I opted for a backpacking trip at The Red River Gorge. I have never been, and it’s been years since he has, so we are excited to check it out!

Photo May 21, 6 02 50 PM

Our garden is slowly coming along, hoping to have a good crop to put back for the AT next summer. Also purchased the king of watering cans. This baby holds 2.6 gallons! So I get my workout on a daily basis.

Photo May 23, 6 56 22 PMPhoto May 20, 5 07 13 PM

And as usually, this is Petey’s contribution to the entire process.

Photo May 23, 6 00 23 PM

We started our trail meal prep this week and I can’t wait to share it with you guys. I’m talking spreadsheets, grocery lists, price guides and a new vacuum sealer! The Beard also got a new pack from Osprey I’m sure he will be updating you about soon. Stay tuned!

Circle of Life

Adulting is hard. There are some many things you’re supposed to do and often certain things, while well intentioned, fall by the wayside. One of those things for me is remembering to take my vitamins!

There is no worse smell to me than when you open a bottle of vitamins. It’s the most unappetizing thing. It smells fowl and I’m supposed to stick it in my mouth and quickly try and choke it down before I can taste too much of it! Yeah, that’s on the top of my to-do list…So then I tried the gummy vitamins. That’s right, nothing says grown up like fruit shaped sugar.

Then I stumbled across this machine and after doing a lot of research decided to give it a try. Best decision ever! Let me introduce you to my vitamin buddy. Tespo.

Photo Apr 19, 3 59 19 PM

Tespo is similar to a Keurig in that it uses a pod to dispense liquid but instead of coffee this is mixing together a vitamin shot. Each disc dispenses thirty-one individual servings; enough for one month. However unlike Keurig, these vitamin discs are recyclable!

Photo Apr 19, 4 04 03 PMPhoto Apr 19, 4 04 28 PM

While most pills contain vitamins, they also contain unnecessary ingredients such as binding agents, fillers, flow agents, additives, artificial colors and flavors. All things I try to avoid with my clean eating approach and yet was still ingesting with my vitamins. Upon further research I learned that our bodies can only absorb roughly 20% of the vitamins in pill form. You mean I’ve been choking down these things for years only to get a slight benefit? However, in this liquid vitamin form our bodies can absorb upwards of 90%! Talk about bang for your buck!

Photo Apr 19, 4 05 07 PM

So how does this baby work? You place the vitamin disc in the front cover. This is a women’s disc, but they also carry men’s, children’s, energy, focus and sleep. The side of the machine also has storage for multiple discs if you wanted to rotate.

Photo Apr 19, 4 05 28 PM

Next you fill up the back with water and push the circular button. It will turn green and then tell you how many servings are left in your disc.

Photo Apr 19, 4 05 01 PM

It will begin to spin the shot glass as it dispense the shot it’s making in order to mix the ingredients. This little cup is really cool. It has a magnetic bottom so it stays in place and has a mixer in the bottom of the cup to make sure everything is combined.

Photo Apr 19, 4 07 46 PM

So what does it look and taste like? The women’s formula is a yellow color and tastes like a mix of tang and flintstone vitamins! Now that is the kind of adulting I can get behind! The little white specs are the vitamins that are not water soluble. They are supposed to do that, and they do not add any sort of gritty texture!

Photo Apr 19, 4 06 30 PM

Every morning I let the dog out, walk over and push the button on my Tespo and proceed to make the bed while my vitamin shot is being made. By the time I’m done the dog is barking to come inside, he’s so impatient, and my shot is ready. Easy Peasy! The best part is the vitamin discs are on a subscription basis so my refills automatically come to me each month! I may have a tendency to forget said things if left to my own devices….

While this is great for mornings when I’m home, what about when I’m not? Tespo thought of that too. This month they are launching their Tespo on the Go System. This little baby holds the same vitamin discs but allows you to add water, shake and drink wherever you are. Mine will be covering a lot of miles as we plan to hike up the Red River Gorge, Grand Tetons and Yellowstone this summer. While vitamins are always important, getting enough nutrients while hiking is a must! I will be sending The Beard with one when he hikes the Appalachian Trail in 2017!
tespo-go-mockup-1.jpg
I don’t endorse a lot of things, and like you, people drive me crazy trying to sell stuff on social media platforms. I don’t  want to attend your online party for leggings, nail stickers, energy patches or cheap jewelry!  So I am not doing that! I honestly love this product, it has transformed the vitamin world for me and I wanted to share it! I got a discount code when I purchased the product to give friends and family $40 off. If you want to use it, feel free, and feel free to pass it on if you know someone interested.

Discount Code: Tespo40Jessica

https://gettespo.com

Laundry Room Gardening

Seeds? Check. Soil? Check. A dark room? Laundry Room it is!

Last year The Beard gifted me with raised garden beds and all the seeds for our anniversary. He’s awesome, I know. We started the process of planting our seeds and then my kidney’s decided to try and break some sort of record and produced five kidney stones. Needless to say our garden took a backseat and never came to fruition. However, this year is the year. Let’s do this.

Step one: Obtain some kick ass seeds.
The Beard purchased these beauties and our only struggle was deciding what we actually wanted to plant. So many options!

Photo Apr 10, 3 03 02 PM

Step Two: Soil. You need it.
We ended up purchasing two trays with 140 soil pods. Go big or go home people. We have trail food to prep!

Photo Apr 10, 3 49 56 PM

Step 3: Label your plants
As you can see from this highly technical chart, we have documented our seedlings. If you’re really into surprises skip this step and just see what happens.

Photo Apr 10, 3 50 15 PM

Step 4: Heat Mat
While this step is optional, it has really helped the seeds sprout quickly and also made a really cool greenhouse on top of my dryer. Blog Note: I have a picture of the heating mat but it keeps getting turned side wise when I upload it. After messing with it for a good five minutes longer than I should have, I gave up. It’s a heating mat. You know what they look like.

Step 5: When your laundry room becomes a grow house
Imagine that moment when you come home from work, glance at your laundry garden and discover your plans are attempting to escape from their perfectly constructed greenhouse. Are you thinking what I’m thinking?

Photo Apr 21, 5 04 00 PM
Photo Apr 21, 5 04 03 PM

Plastic Spoons to the rescue! I know you thought I was going to say, “Try and take over the world” but I’m busy with my laundry garden right now.

Step 6: Rig that sucker
They aren’t quite ready to be transferred and I would still like them on the heating mats for the smaller seedlings to continue to sprout so this was my interim solution. Notice heating mats under the trays. I did have a picture after all!

Photo Apr 21, 5 04 05 PM

Just a few more weeks and these plants will be ready to harden off and plant! Guess The Beard and I better get our garden beds prepared. Then it will be so long laundry garden, see you next year. Oh yah, Happy Earth Day!

These Boots Were Actually Made for Walking

Fifty miles or 110,943 steps across three countries is where these boots took me. I recently took a trip to the Czech Republic, Austria and Hungary. I wanted to pack light and that meant only bringing one pair of shoes with me. I know, for some of us ladies this can seem like an impossible task. Having visited Europe two years prior I learned the importance of selecting the right shoes. I know you’ve heard the expression, I left a piece of me in <insert location.> However, that story is true. I literally left pieces of my feet all over Italy and France and I have the bloody shoes to prove it! So this time around I did my research and selected these boots which were fantastic, not to mention pretty darn cute with jeans.

Photo Mar 28, 4 43 32 AM
View looking across Prague

Photo Mar 30, 4 36 56 AM
View of the Mozart Statue in Vienna

Photo Mar 31, 9 58 02 AMPhoto Mar 31, 10 01 15 AM
Heroes Square in Budapest

I know what you’re thinking, and yes I climbed up the monument. However, I have a perfectly logical explanation. Everybody else was doing it…

So, who makes these magical boots that kept my feet intact despite all that walking? Elves. That’s right, Elf cobblers who happen to work for Clarks.

Photo Apr 04, 1 51 30 PM

I highly recommend these Desert Boots for walking. They were great for getting around the cities and the cobblestones didn’t slow me down one bit! But don’t forget, as with all leather shoes, you need to take care of that precious leather and condition them!

Photo Apr 04, 1 53 32 PM (1)Photo Apr 04, 1 51 54 PM

Hammock Time

Last Friday night we spent the evening, like any other wild couple, doing yard work. After the storms this winter my backyard had been transformed into a Lion King replica of the elephant graveyard. Limbs everywhere! By the time we finished stacking our pile it was almost as tall as my impressive 5′ 4″ stature.

Photo Apr 15, 6 38 52 PM

However, all work and no play makes for a very dull evening. The Beard had purchased a camping hammock over the winter and we’ve been dying to test this bad boy out.

Photo Apr 15, 6 54 39 PM

This is a two person hammock, complete with bug net and rain guard. While it may not look like it, at this height the hammock was equivalent to my chest and after opting against the belly flop entry, we had to lower it. Also – note the giant pile of sticks to the left.

It was my turn to test it out and Petey was along for quality control. The real fun began when both of us attempted to test the limits of this two person hammock. Imagine laying in a cocoon. Now visualize scooting over to one side while attempting to hold out the edges of the cocoon for The Beard meanwhile knowing the inevitable is bound to happen. You are going to be sat on….

After several laughs and some strategic maneuvering we were finally situated and the three of us snuggled in! We can’t wait to test this out on our hikes this summer because it’s always Hammock Time.

Photo Apr 16, 10 01 16 AM

P.S. After several hours of burning brush I finally worked my way through the giant stick pile and somehow managed to singe my eyelashes. Just another weekend….